RESEARCH POSTER
Overview
Technical Aspects
Section
Description
Size
A1 size for Printing
Viewing Distance
1.5 - 2 metres
Audience
Everyone
Font
Inter
Font size
24 - 32pt for body text
Composition & Ratio
Golden Ratio (40-60)
Color & Contrast
2-3 main colors with high contrast
Contents
Section
Description
Title
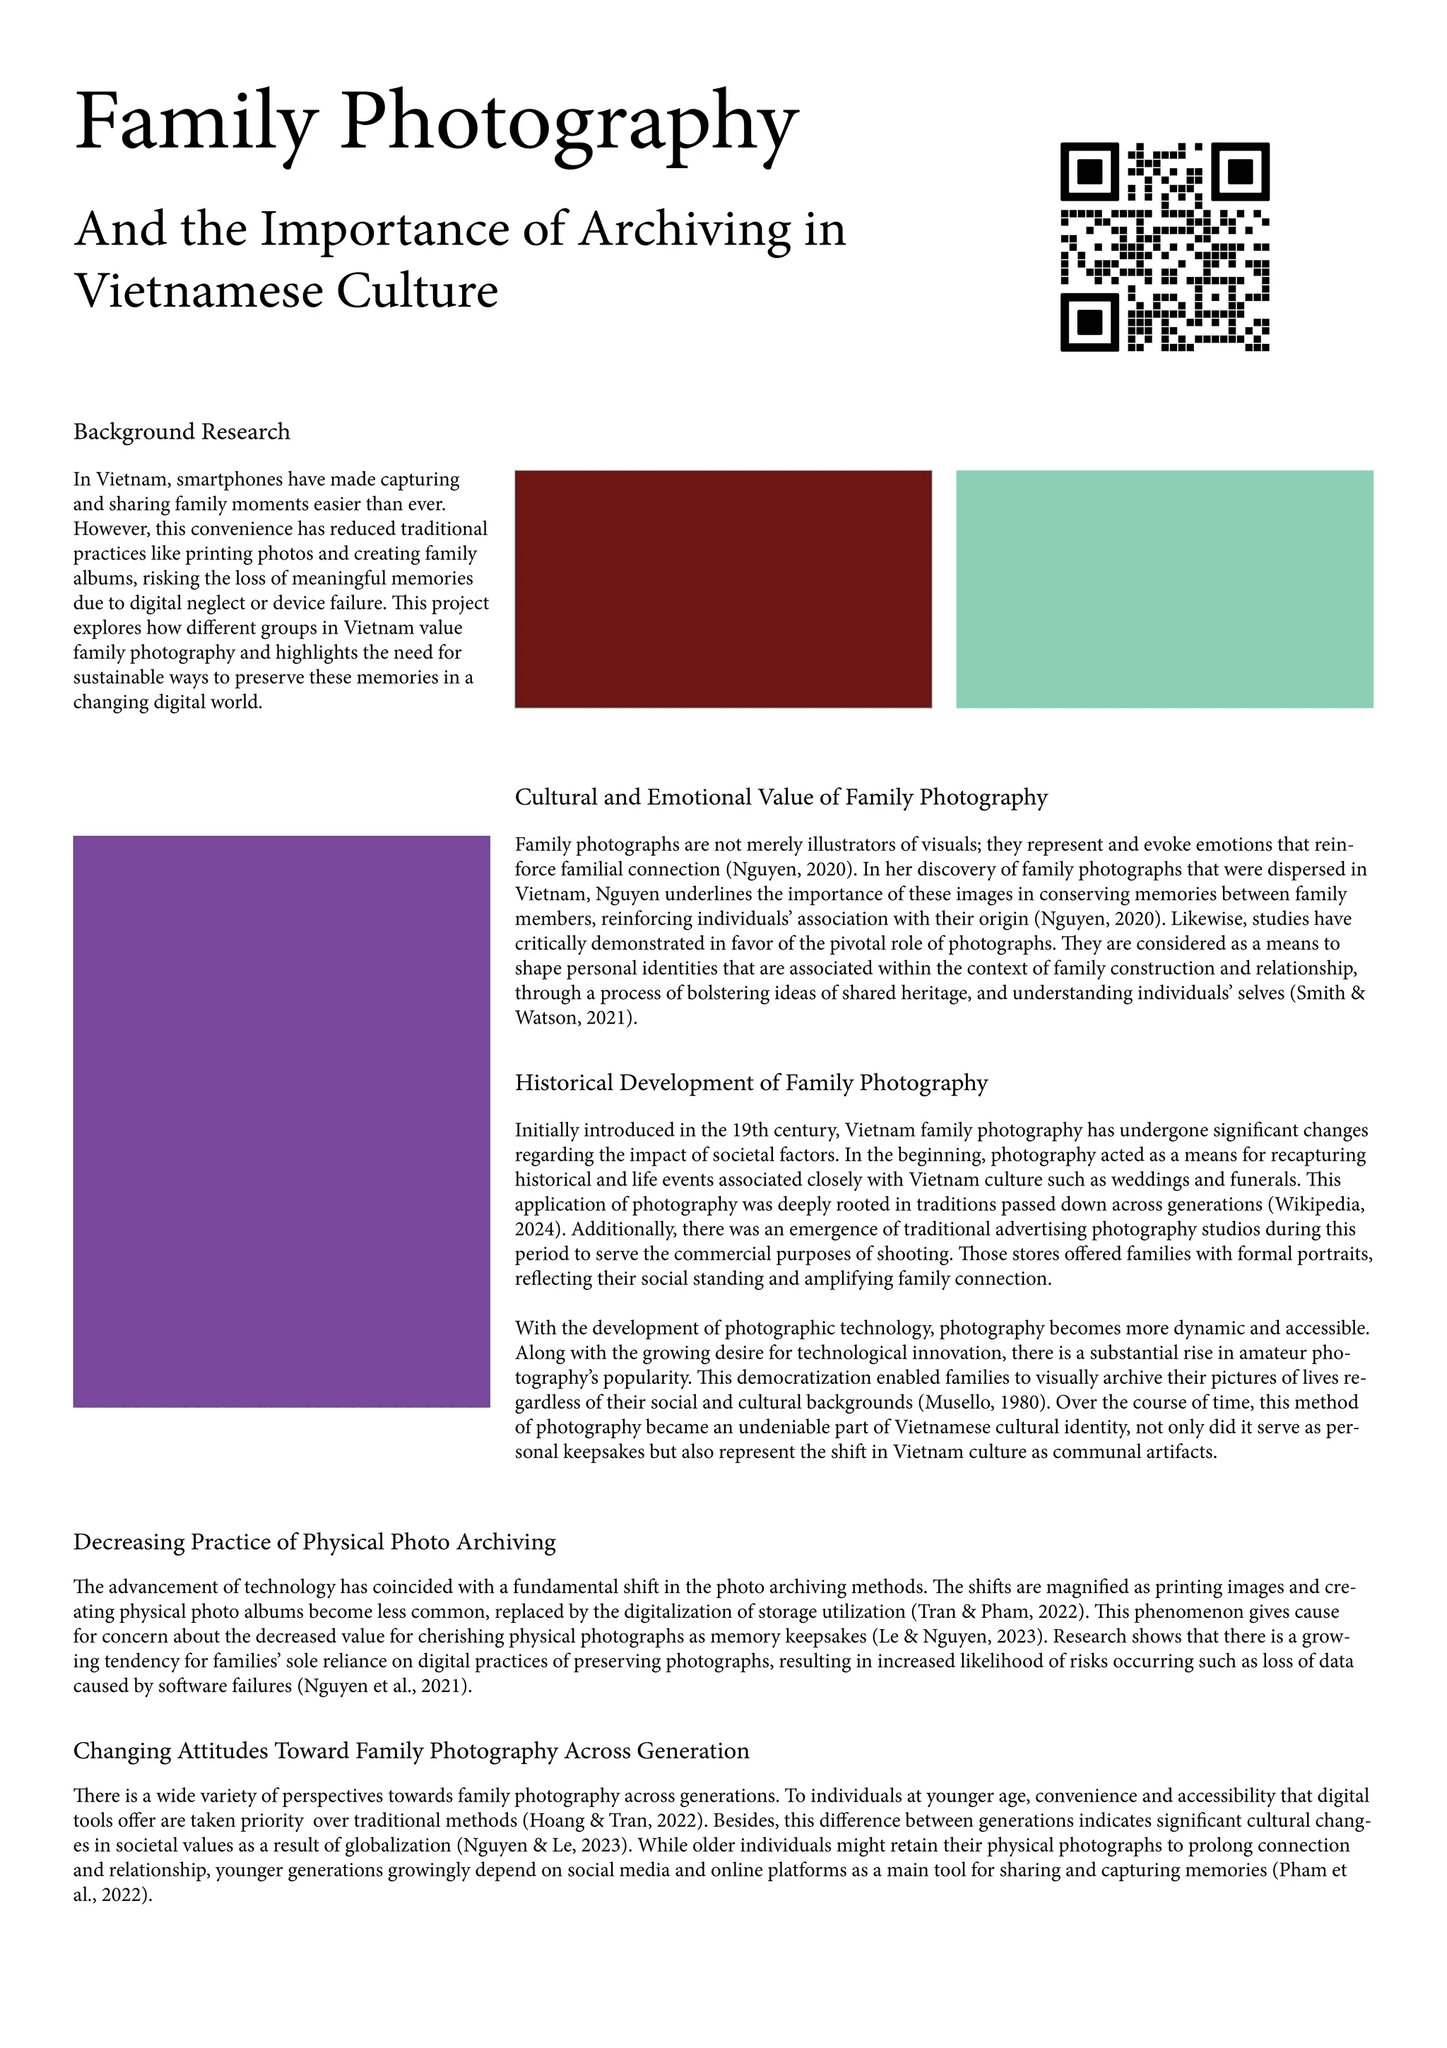
Family Photography and the Importance of Archiving in Vietnamese Culture
Research Background
In Vietnam, smartphones have made capturing and sharing family moments easier than ever. However, this convenience has reduced traditional practices like printing photos and creating family albums, risking the loss of meaningful memories due to digital neglect or device failure. This project explores how different groups in Vietnam value family photography and highlights the need for sustainable ways to preserve these memories in a changing digital world.
Methods
Literature Review (5 Paragraphs)
Qualitative Methodology
Graphs
Discussions
The Resurgence of Vintage Cameras among GenZ
Visual Experimentation
Shooting, Developing & Scanning Film Photography
Action Plan
Detailed Action Plan
Detailed Research
QR Code
Visual Layout
Portrait Option
Landscape Option

Research Poster Moodboard
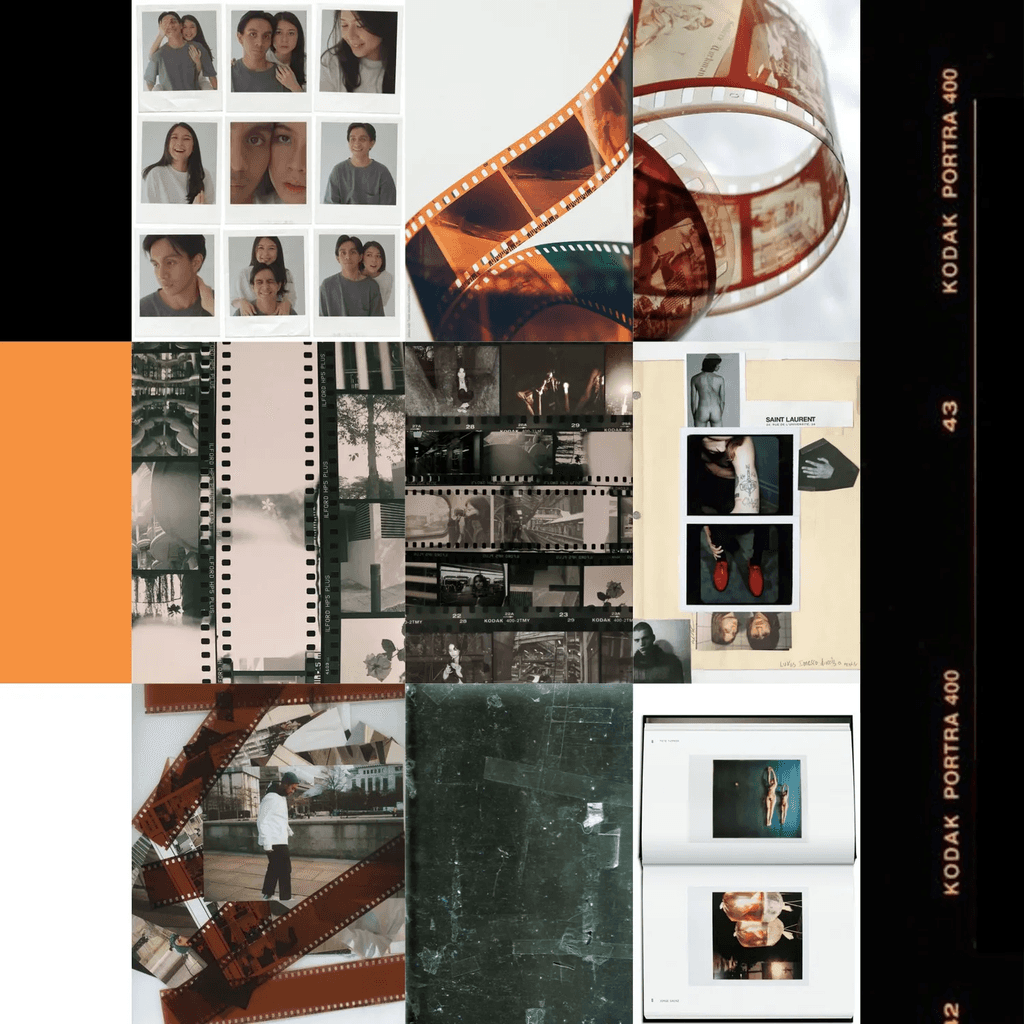
Nostalgic, Film, Vintage, Archival
SECONDARY PROJECT
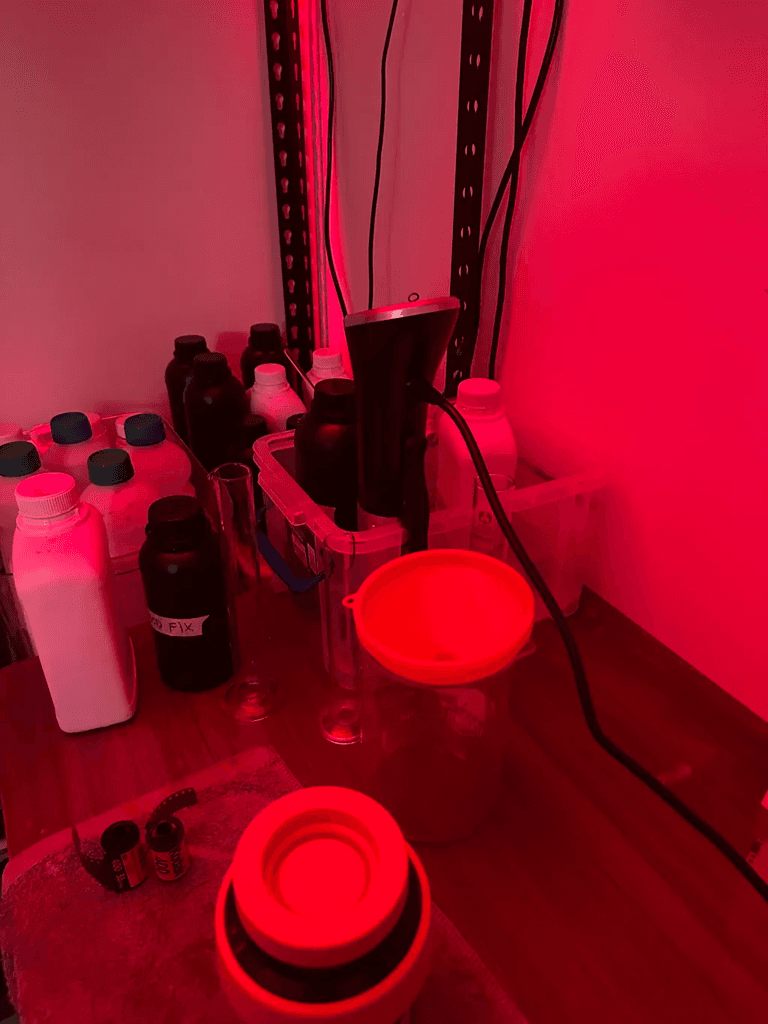
Developing Negative Films
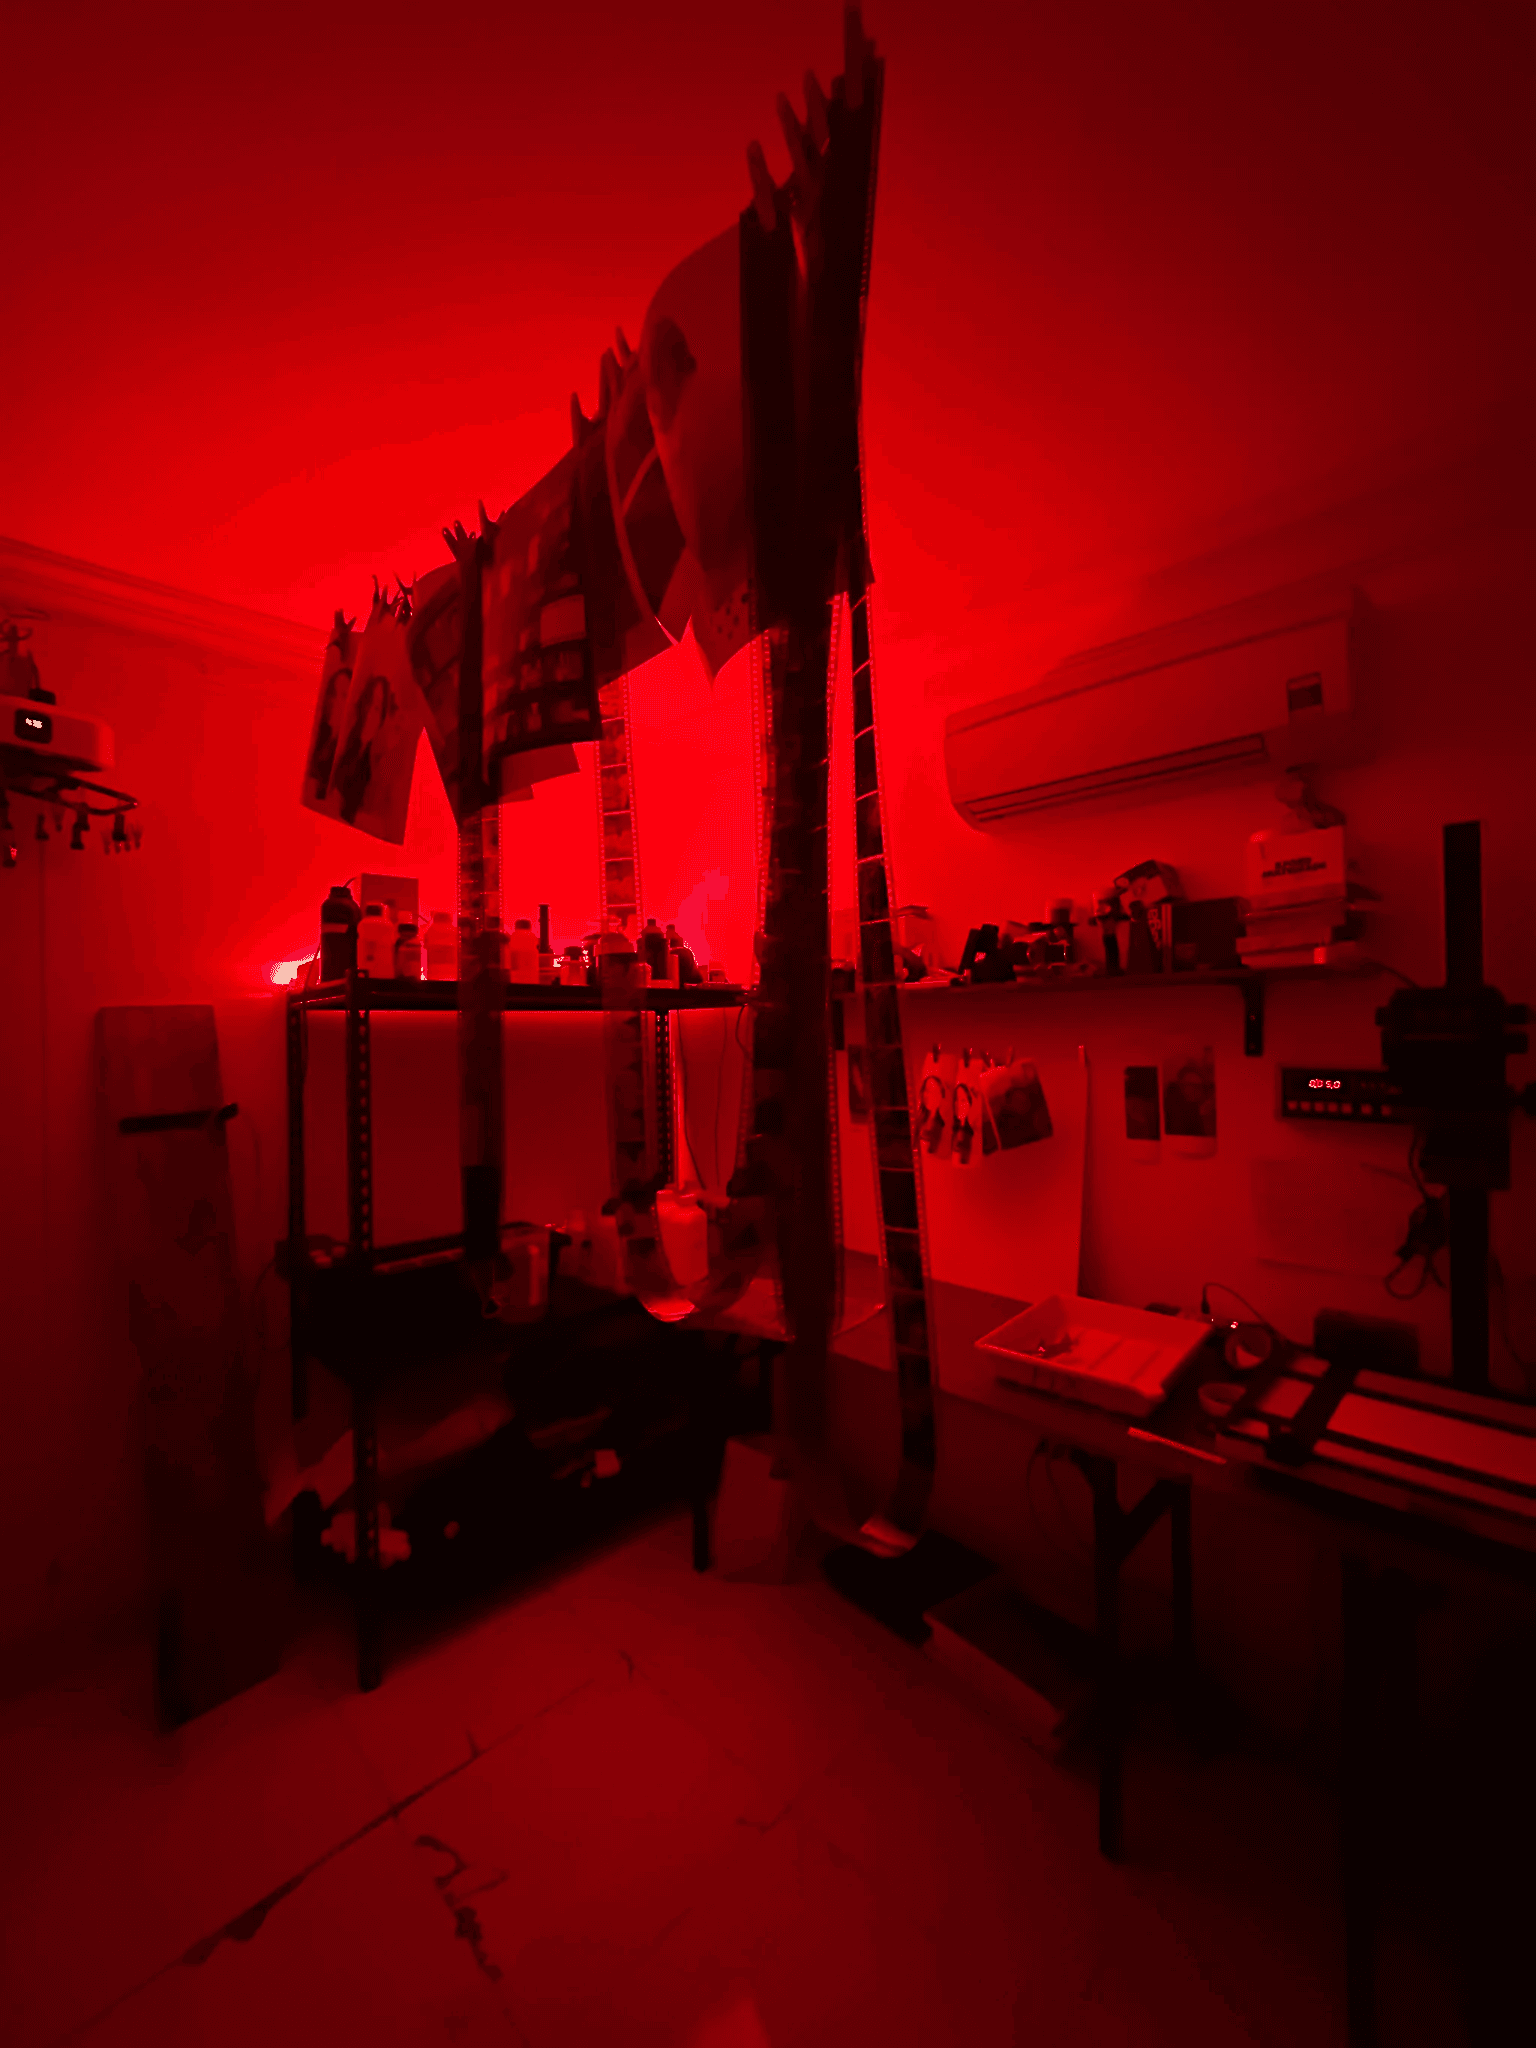
My Darkroom used for developing film
Material
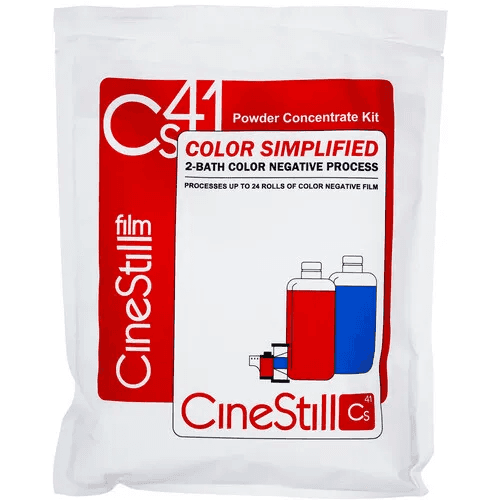
Cinestill C41 Development Kit
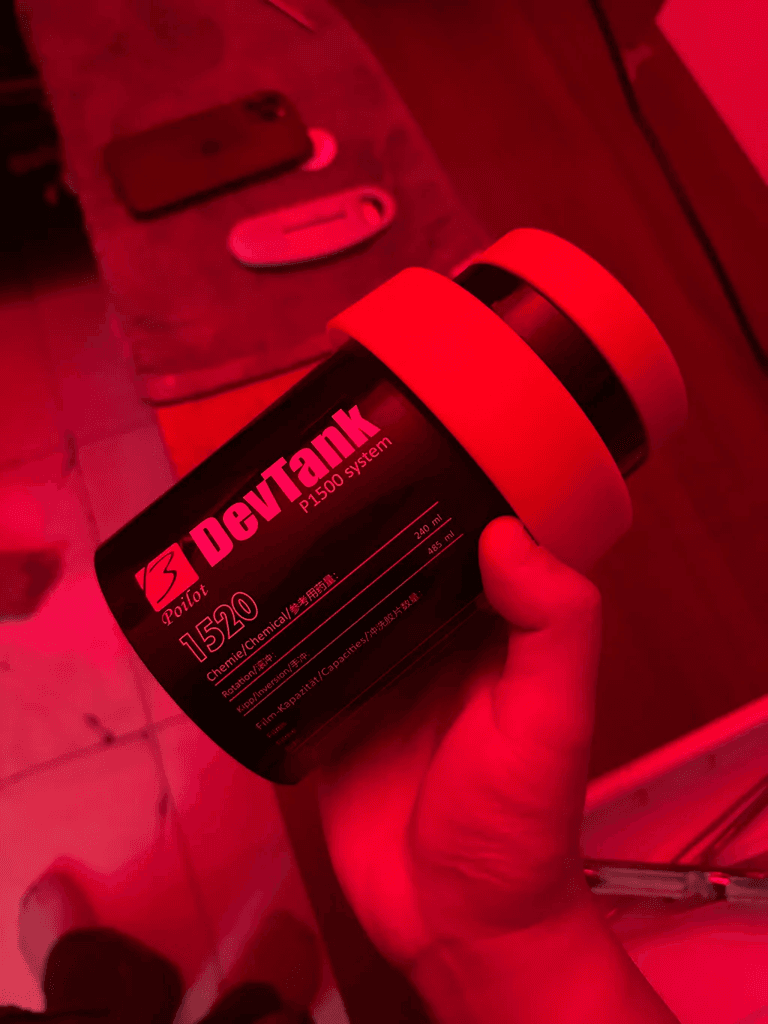
Development Tank
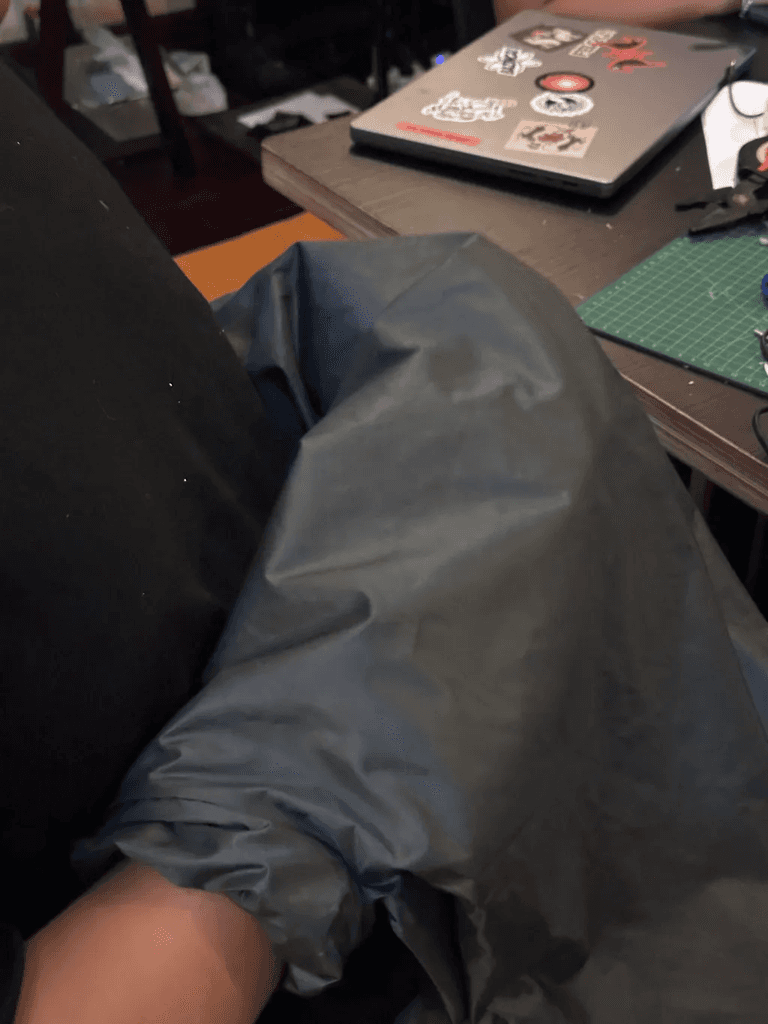
Putting the film into Dev Tank using changing bag
Heating chemicals with sous vide machine at 38,5 degree Celsius
Developing Process
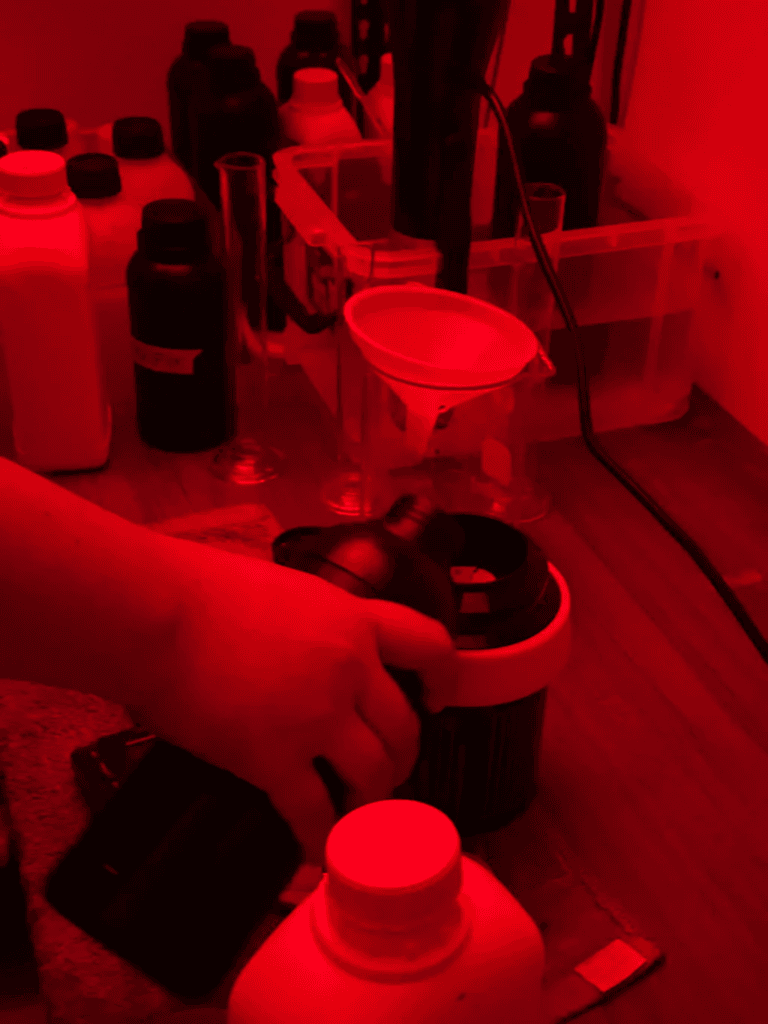
Potting Chemicals into Dev Tank
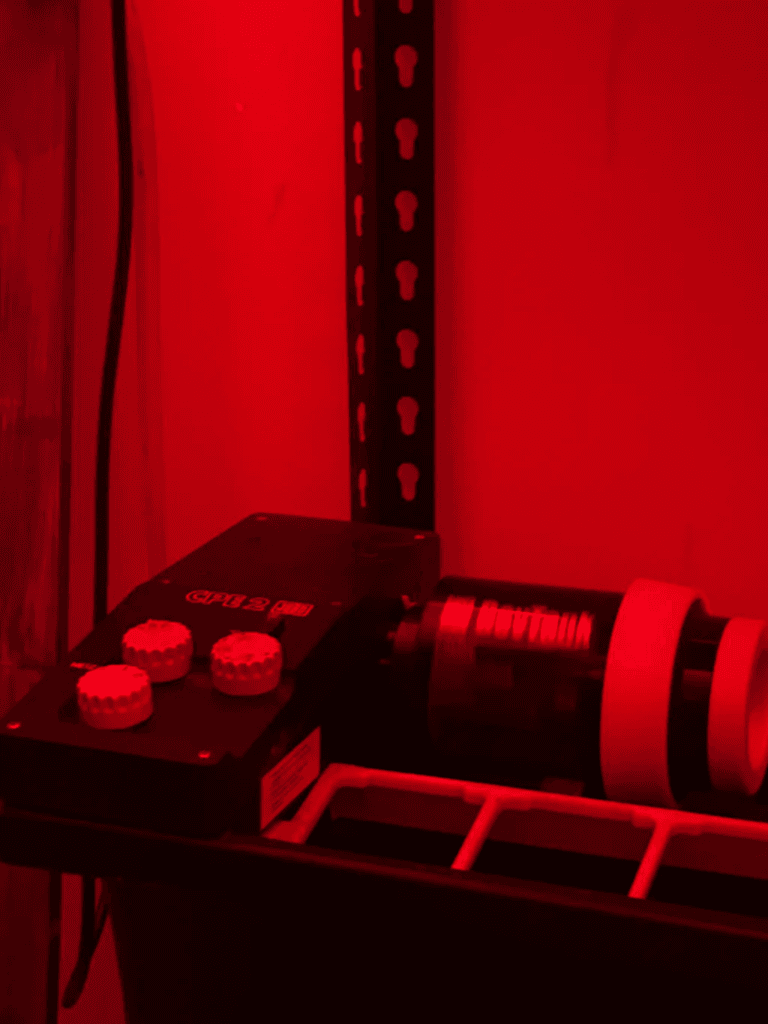
Dark Room Chemical Mixer
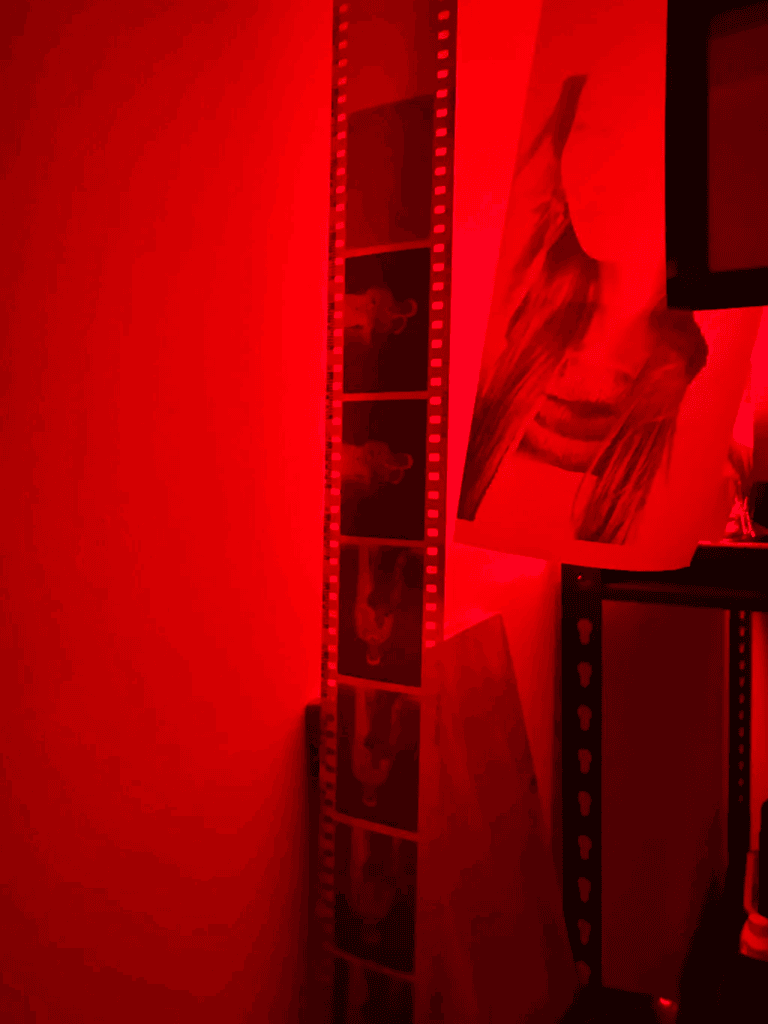
Finish Developing - Images Appeared
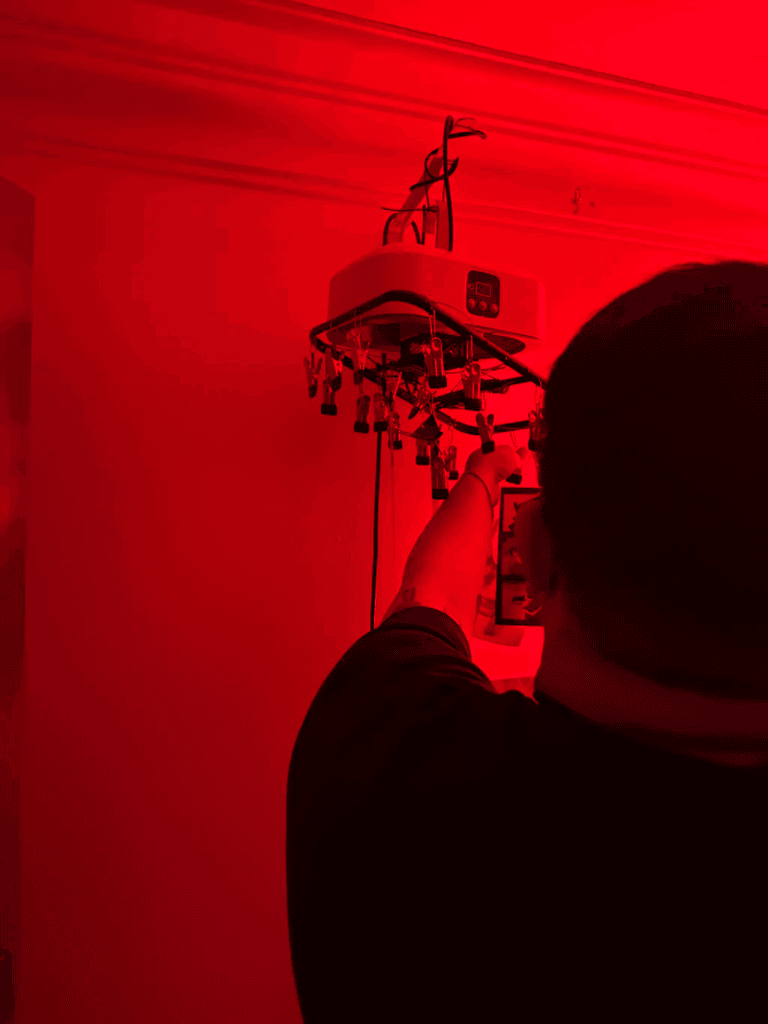
Drying Negatives for scanning
Evaluation
Developing negatives myself is a learning experience in photography, where I take the initiative to use the best chemicals, tools, and equipment for film processing, rather than relying on industrial-grade chemicals and machines from labs. Properly and meticulously developed negatives are the foundation for creating beautiful photographs, making quality and precision an absolute priority.
SCANNING NEGATIVES
Method 1: Scanning with Professional Film Scanner
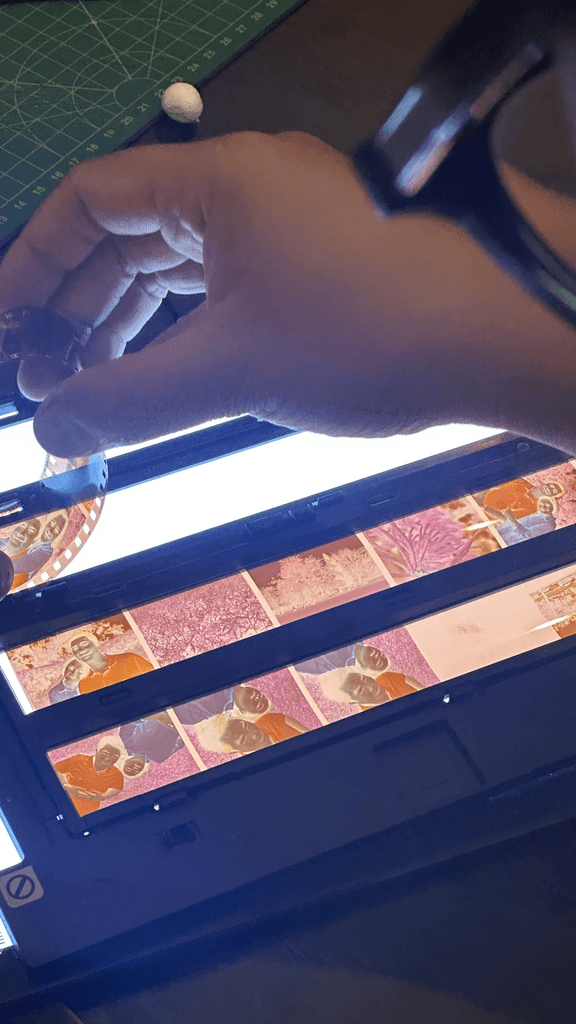
Preparation
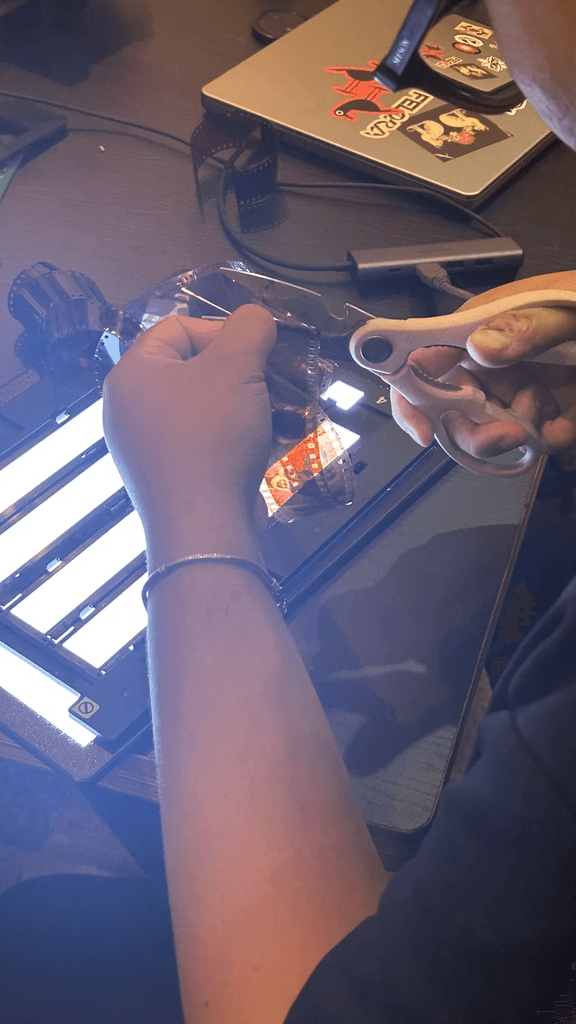
Cutting negatives roll
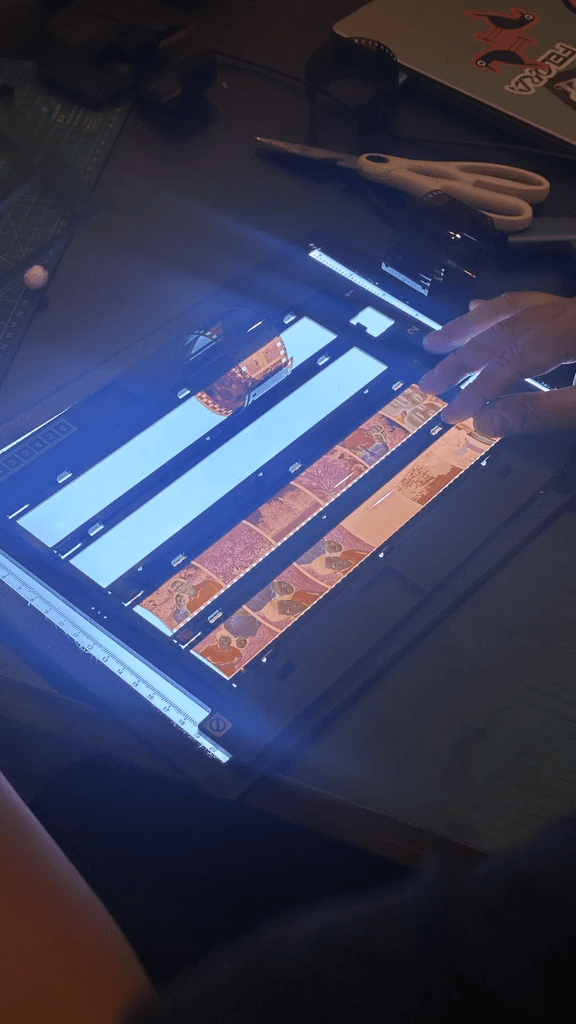
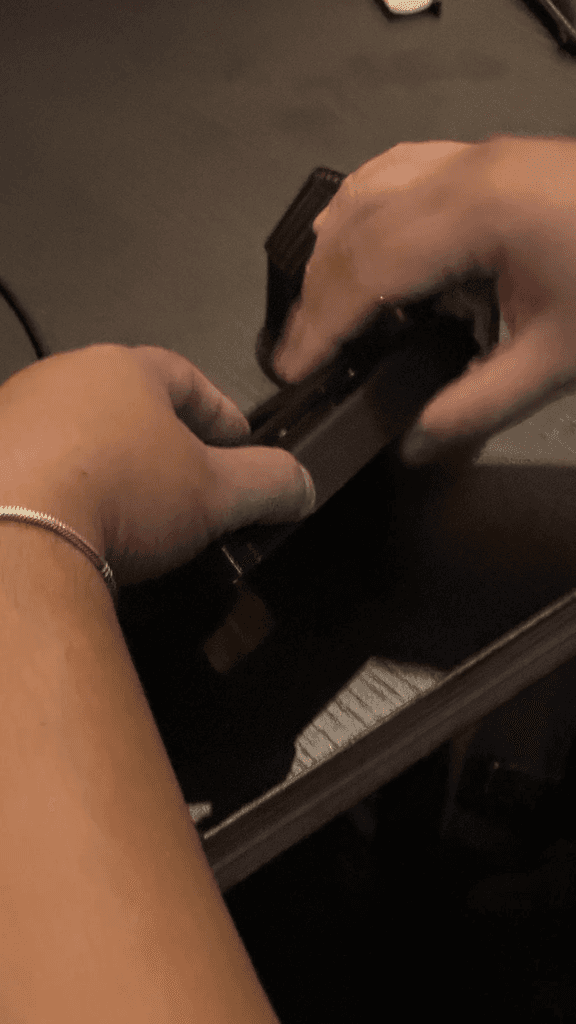
Putting negatives into scan sliders
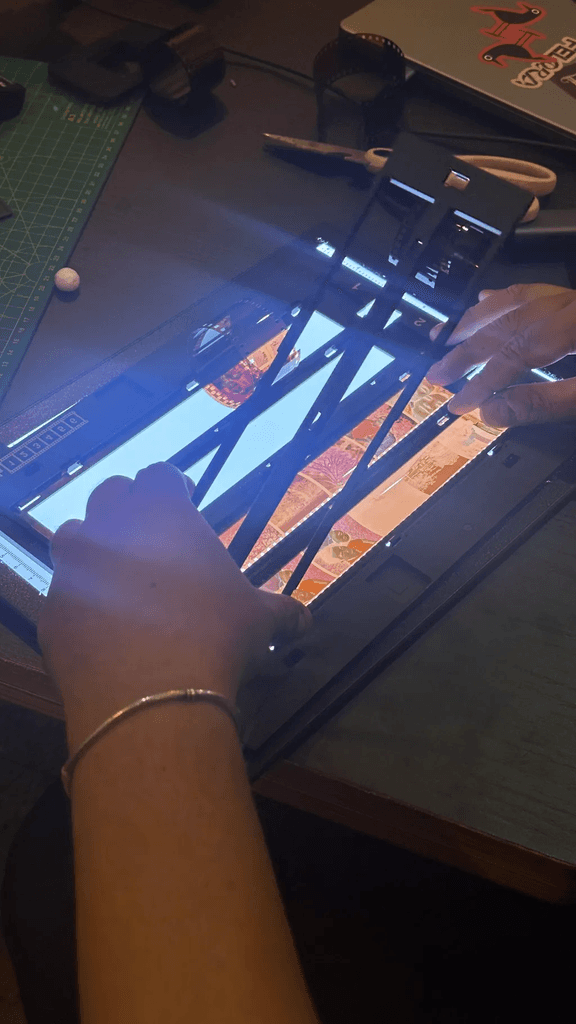
Lock the slider
Inputting more negatives
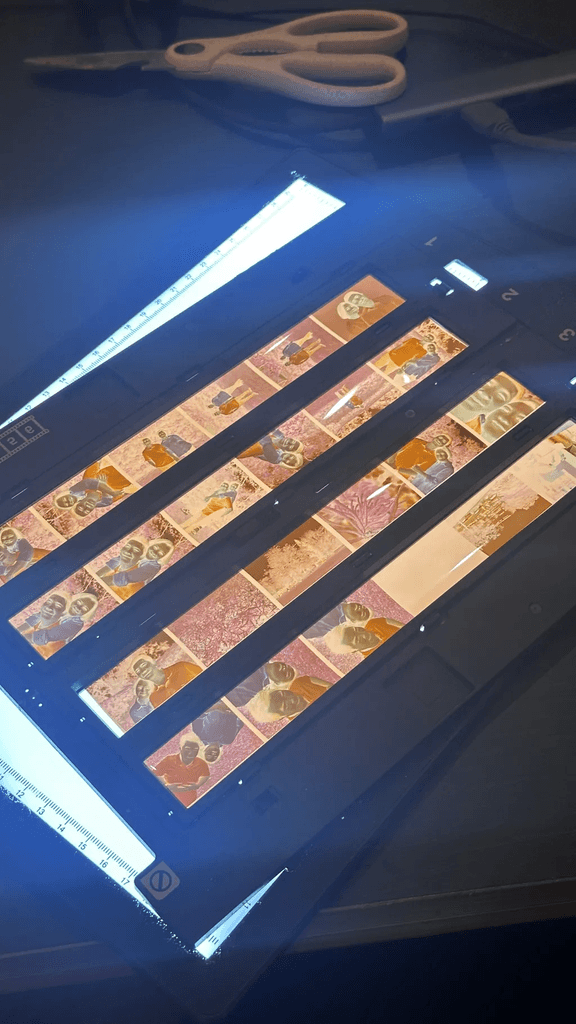
Finish putting negatives into slider
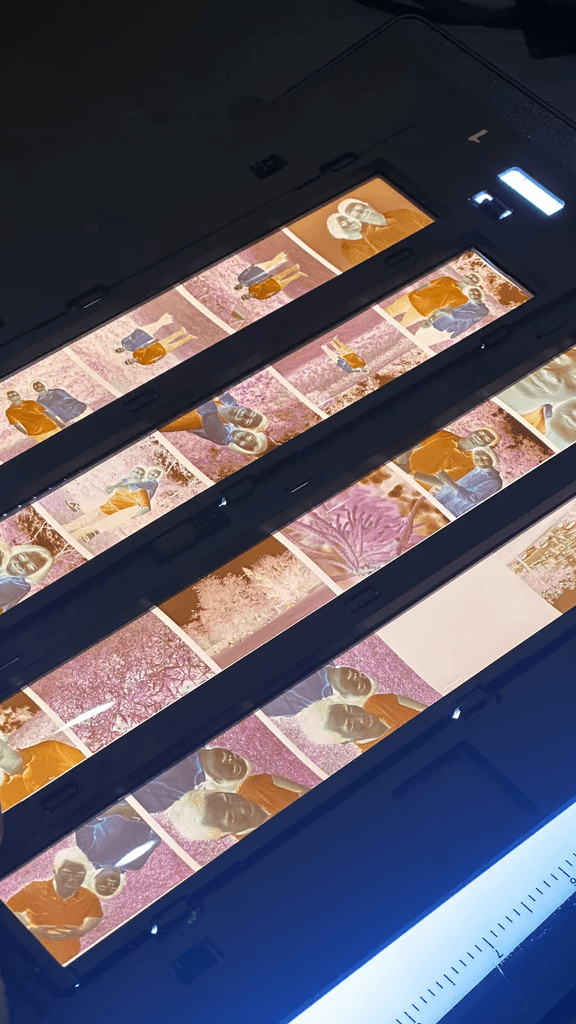
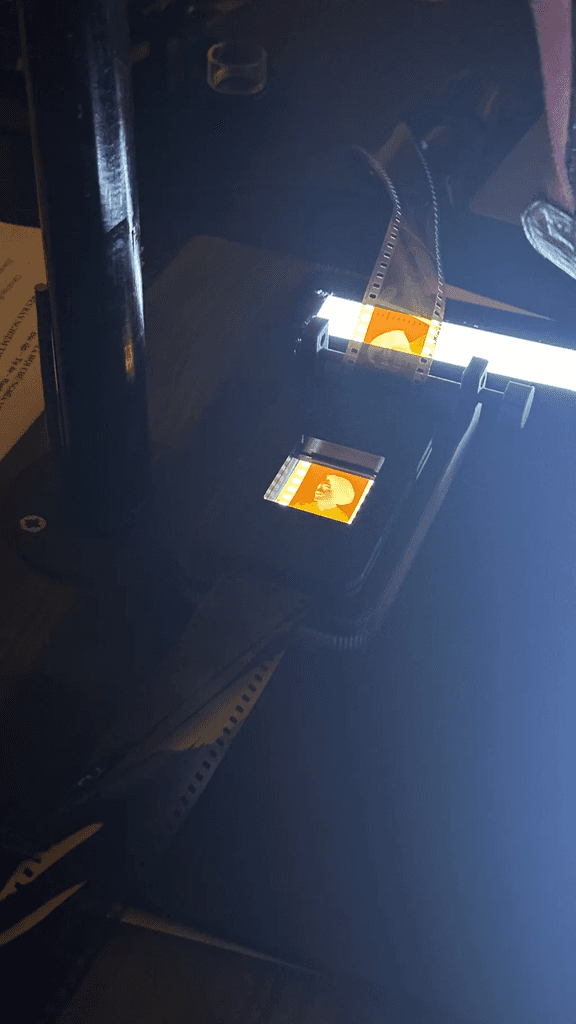
Putting negatives to scanner
Scanning
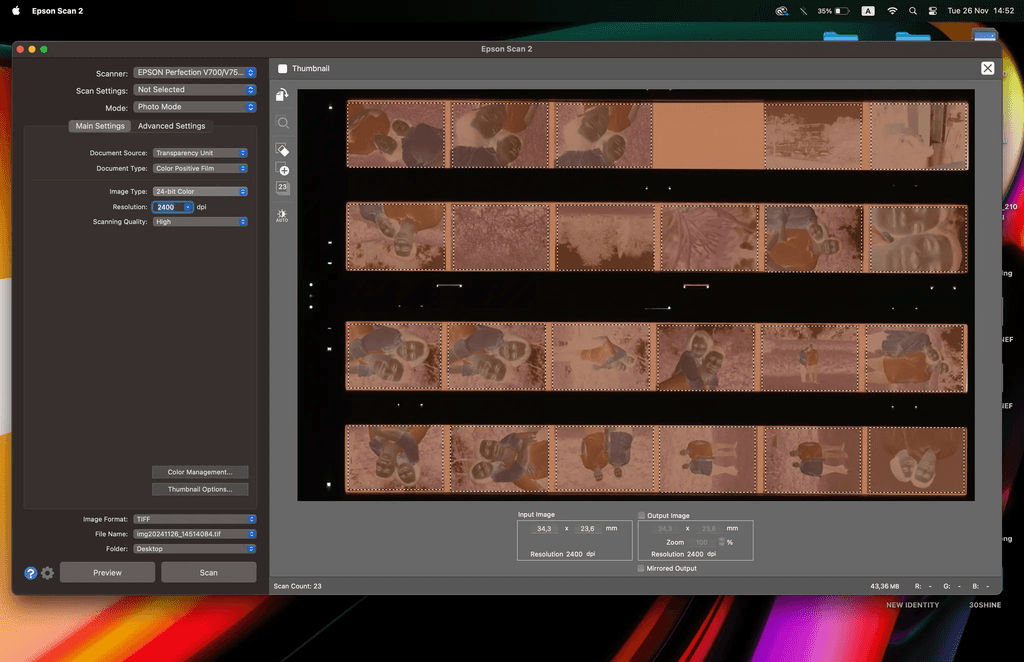
Outcome
Evaluation
After scanning with a professional scanner, I realized that the detail and dynamic range of the scanner were not sufficient for my film. This limitation made color grading and recovering details relatively challenging. However, I found that the scanner has one significant advantage: it keeps the film perfectly flat.
Method 2: Scanning with DSLR
Preparation
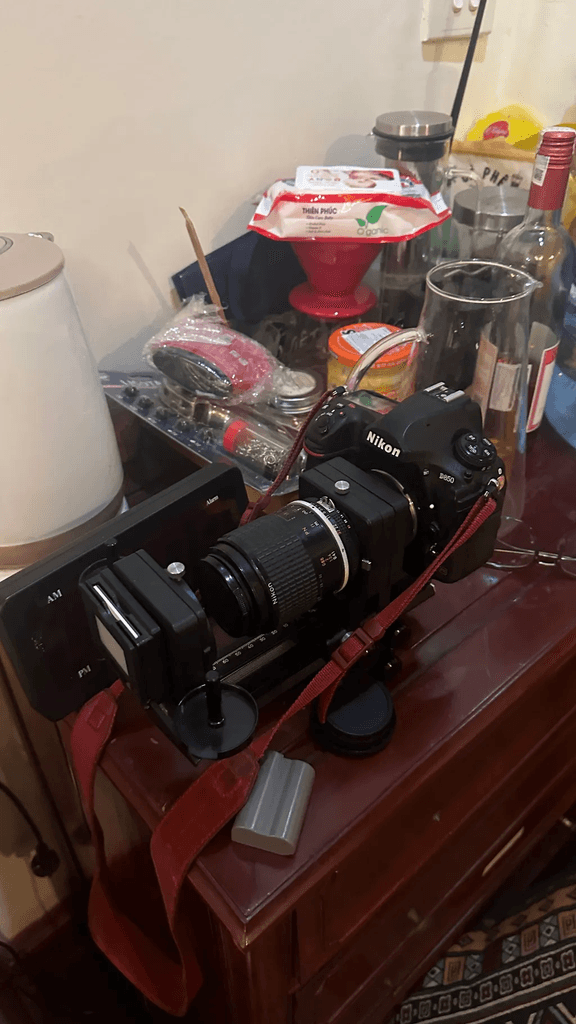
Prepare DSLR with a 105mm Macro lens & Slider
Putting negatives into slider
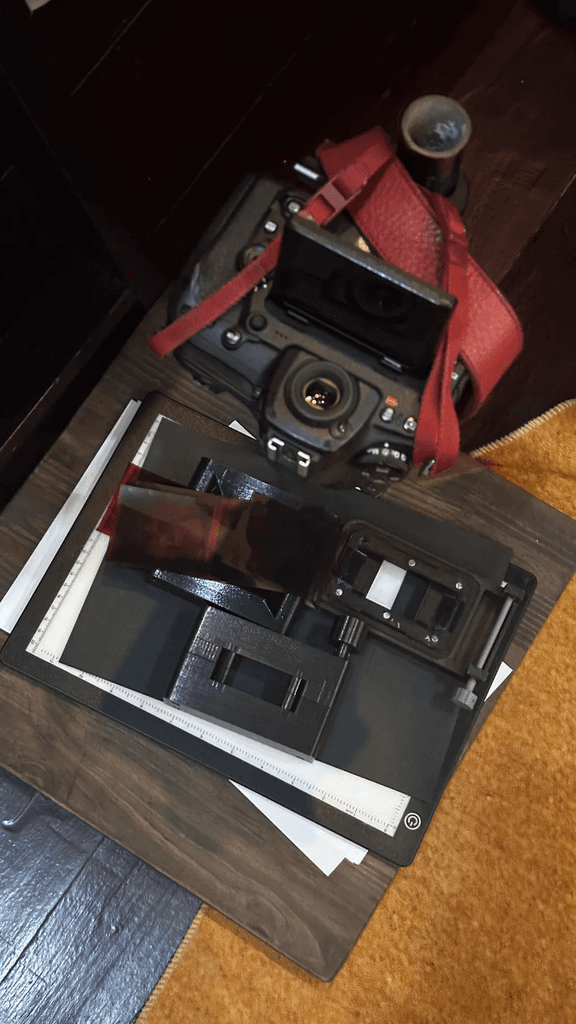
Setting up scan table
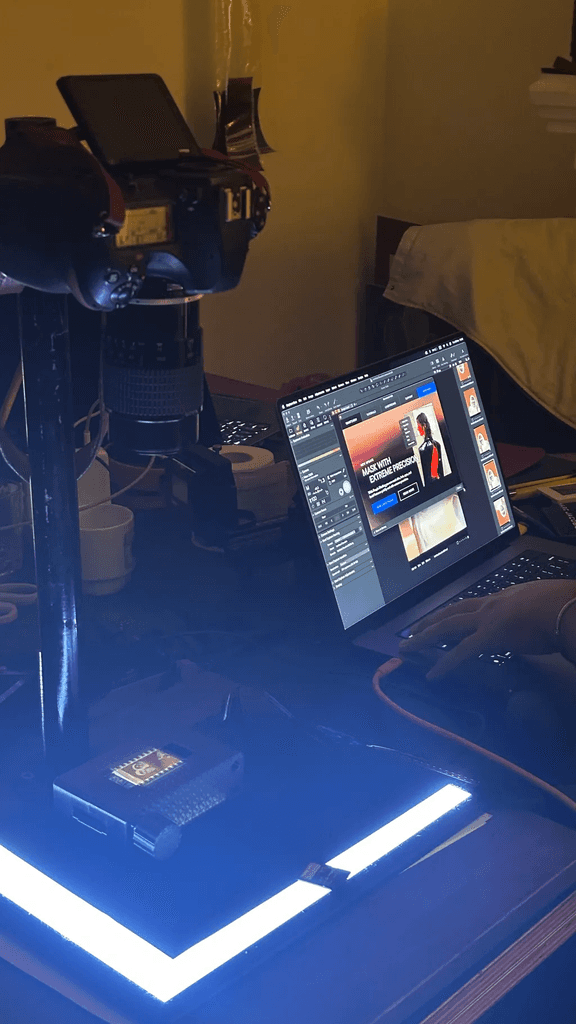
Connect camera with tethered shooting software
Scanning
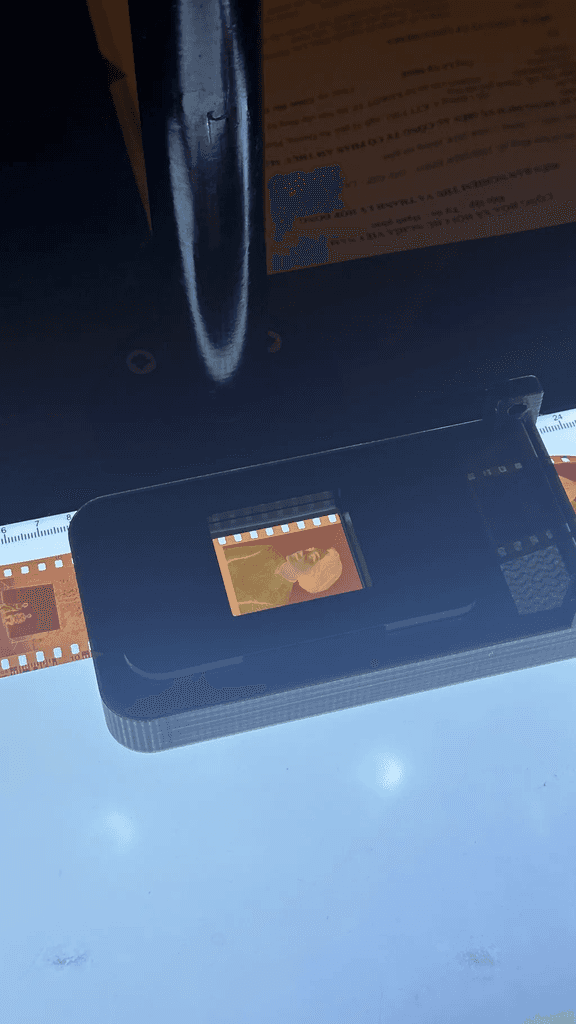
Scanning on flat surface #1

Scanning on flat surface #2
Make sure to flatten the negative and remove dust
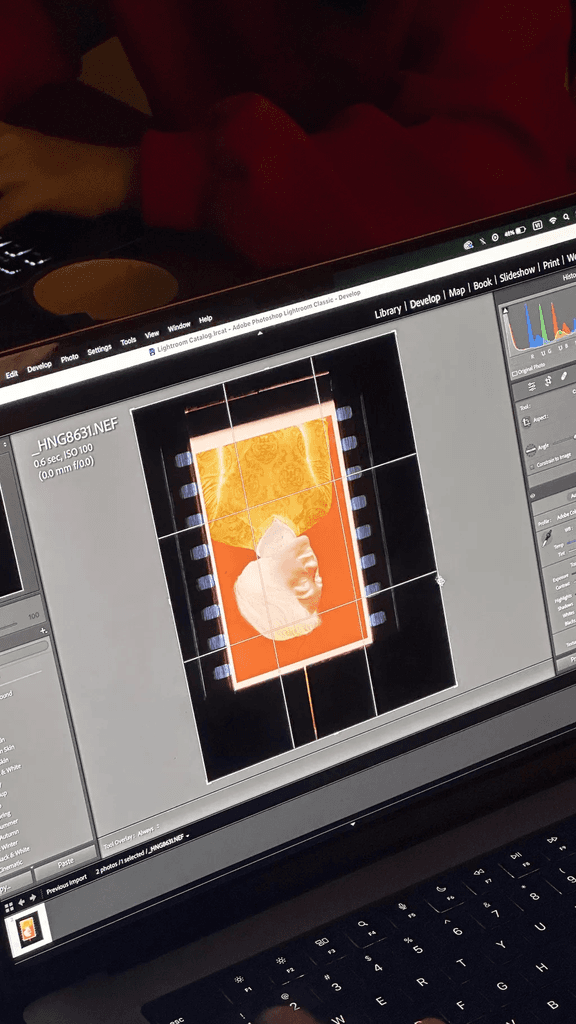
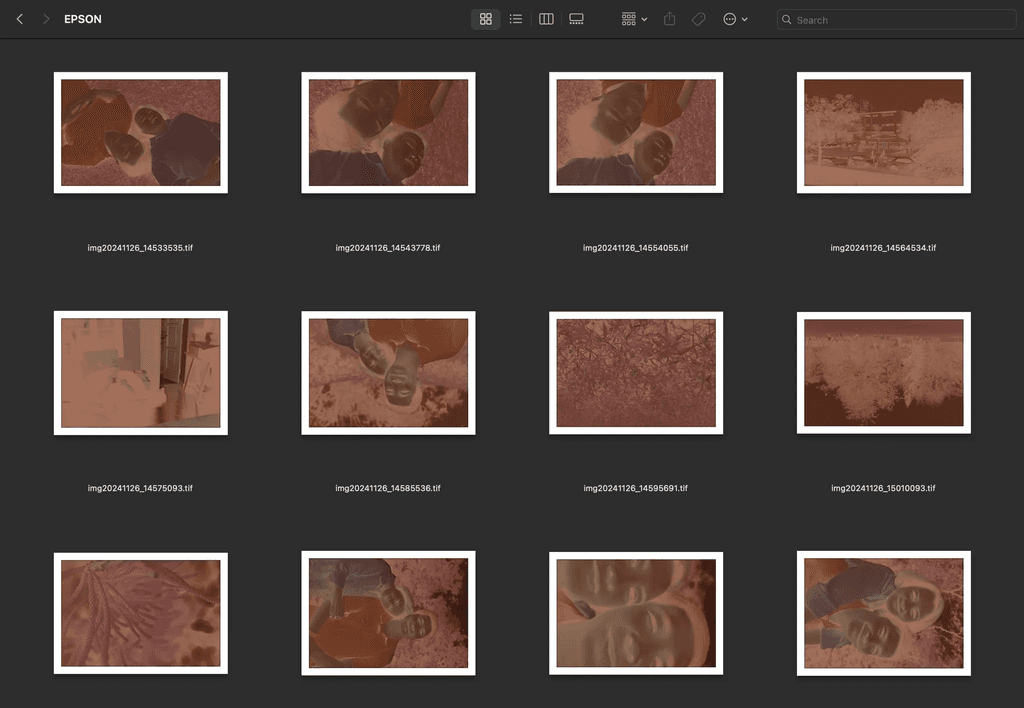
Scanned image on Lightroom Classic
Outcome
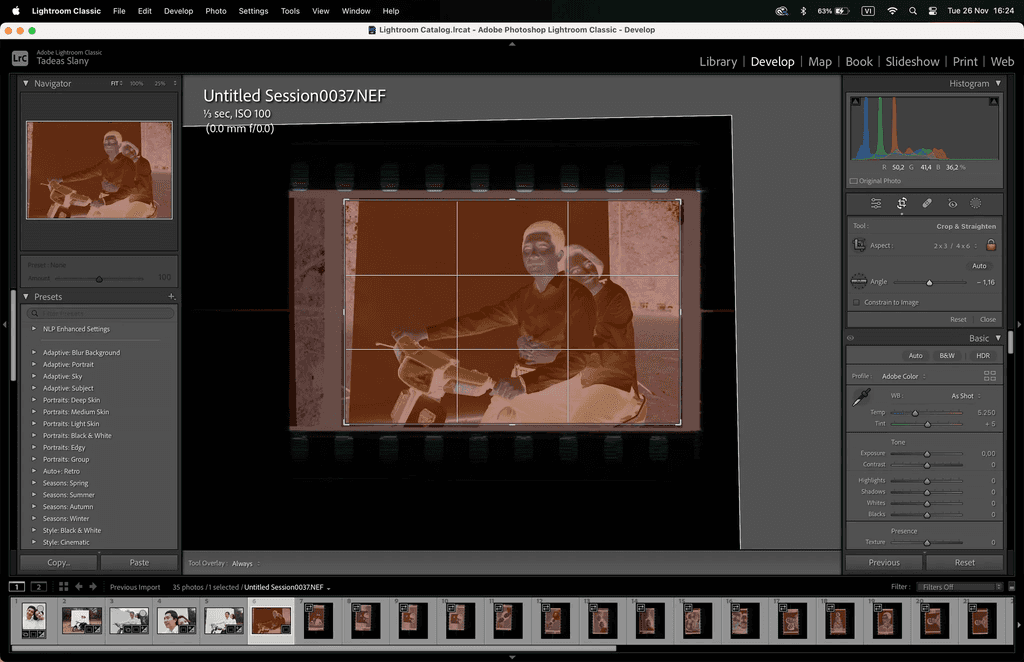
Scanning on flat surface #1
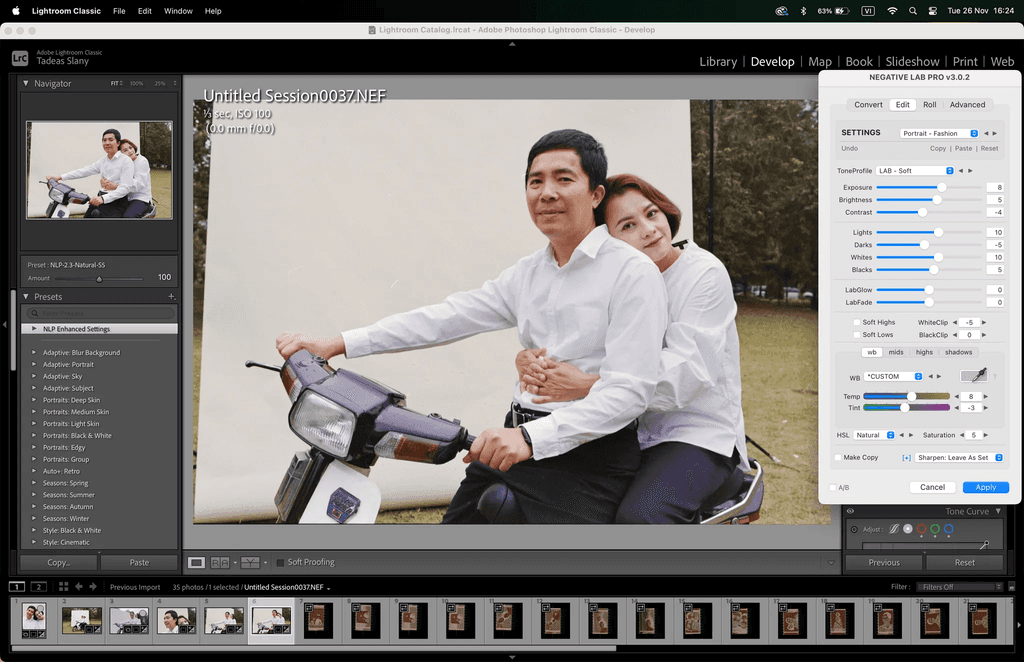
Reverse negative and edit color in NEGATIVE LAB Lightroom’s plug-in
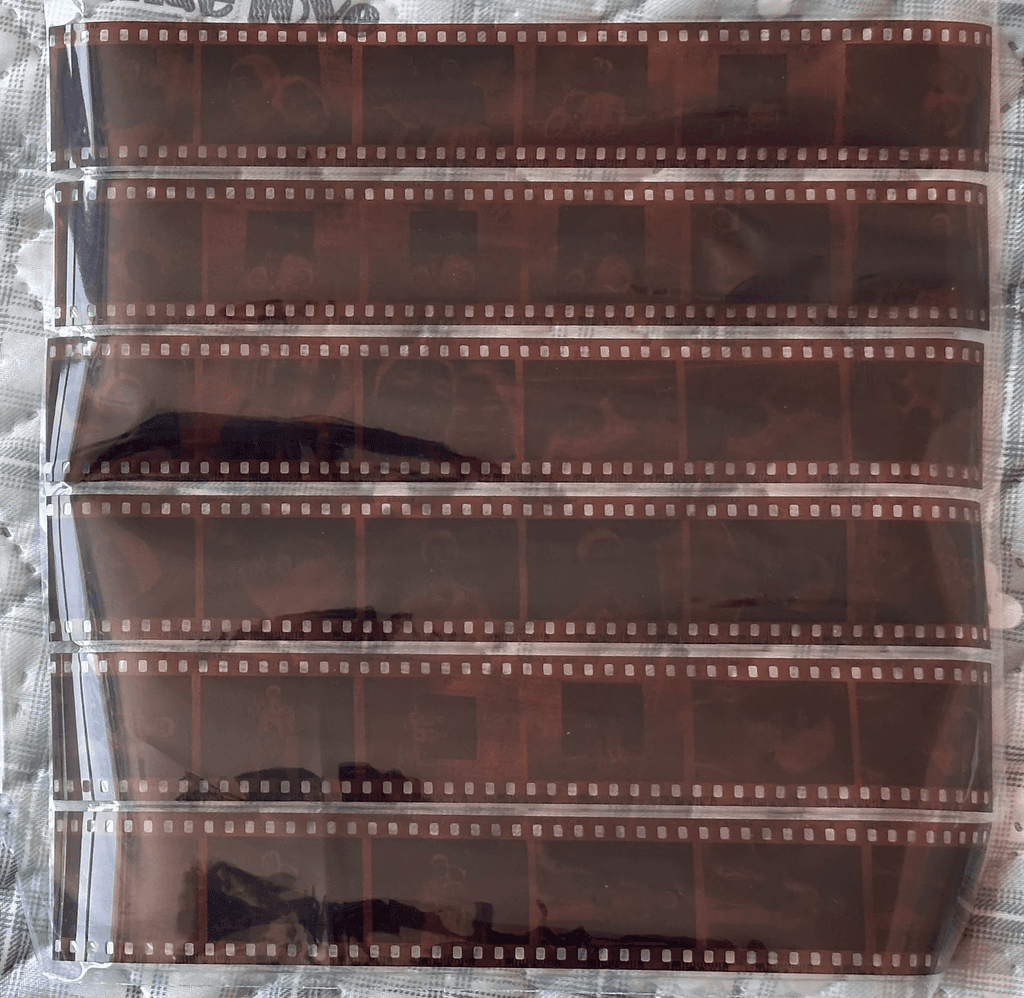
Store the negative’s slides in clear bag - a way to archive image
Outcome
With this method, I feel it is more optimal, as my DSLR offers a dynamic range of up to 15 stops and a resolution of 46 megapixels, which allows for better color editing and detail recovery compared to the smaller sensor of the scanner. However, the downside of this approach is the number of manual steps involved. It’s crucial to ensure the film is perfectly flat, the camera is properly focused, and the negatives are free from dust and debris.
I find the final output to be well worth the effort, as image quality is my top priority.
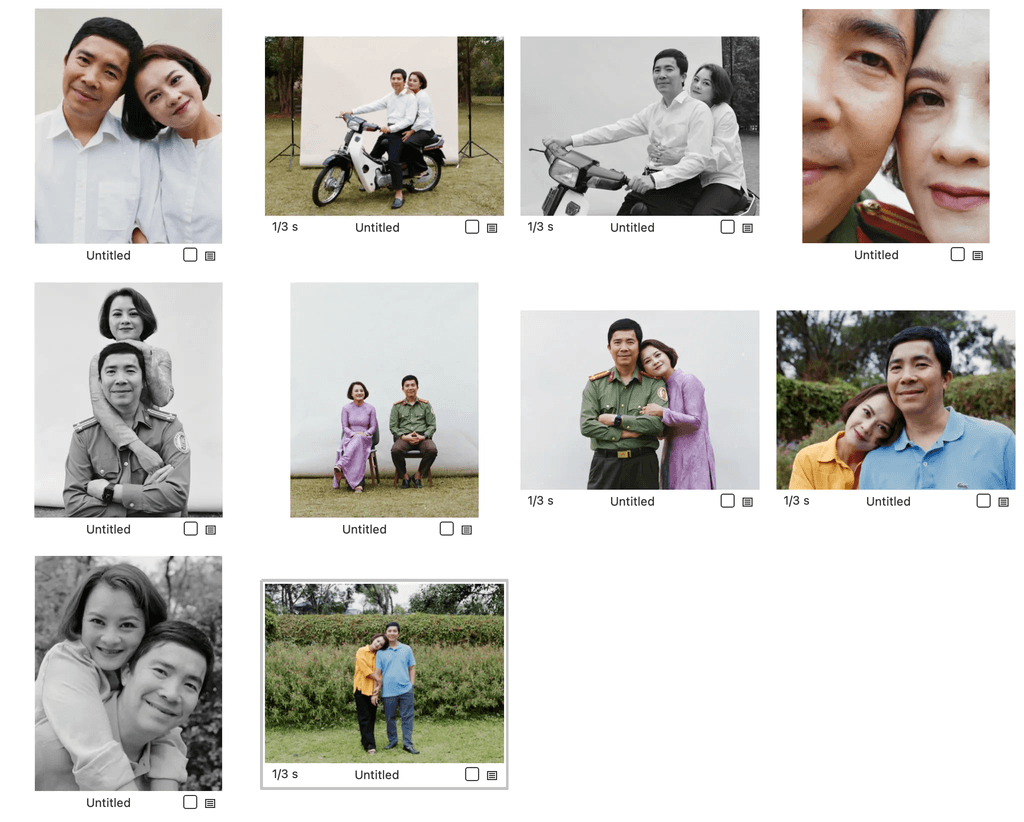
Final Outcome
For Sony Competition
Future Plan
Learning Outcome
Things I have learnt
Learning how to develop film myself became a way to explore the history of photography while practicing family photography. I realized that creating a high-quality film photo involves numerous steps, each requiring meticulous care as they directly impact subsequent stages.
I learned how to infuse my emotions into the photos, building a deeper connection between the photographer and the subject. This involved mastering effective communication to earn the subject’s trust, ensuring them that I could deliver a beautiful image. This was particularly crucial with film photography, where there’s no opportunity to preview the result. I feel accomplished after this project because I’ve honed this skill, beginning with photographing my parents.
Film photography taught me to value every single frame, to slow down, breathe, and place my emotions into each shot. Knowing that once the roll runs out, I can’t continue shooting, has trained me to observe, feel, and compose deliberately. This practice has reinforced my ability to see and capture meaningful moments in each frame, knowing they are irreplaceable.
Things I need to improve
Be more mindful with each film shot. I took a total of 58 frames but only selected 10 that were truly satisfactory. This indicates that I wasn’t fully intentional with every shutter click, partly due to relying on having two rolls of film. Next time, I’ll limit myself to a single roll for personal projects to encourage greater mindfulness.
In terms of concept, while I am pleased with the final results given the limited time due to competition deadlines and a modest budget, I believe there’s room for improvement. Enhancing the styling and location selection could make the concept more compelling and polished, elevating the overall project.
Overall, I am truly satisfied with this outcome. I’ve learned so much and gained invaluable experience in photography, sharpening my sensitivity to observation. Most importantly, I was able to give my parents a meaningful gift that holds deep sentimental value.